So, last academic year I lived and died by the free paper planner produced by my school. I took this summer off, for a change. When school started up again I went looking for a new planner - only to be told they weren't offering them anymore.
Catastrophe!
I tried buying a similarly styled one at the store ... I liked that it was smaller so it fit in my purse (not just my school bag), but there wasn't any room for anything extra. My life seems to be overflowing with extra, LOL, so I knew I needed something else.
I consulted the wisdom of the interweb to create my own.
Bullet journaling caught my attention. But when it came down to it, I just couldn't find the time to do all that cool stuff by hand.
Past experience taught me that I wanted something that would fit in my purse, so I bought:
I knew it would require some organizing dividers, so I bought:
And I knew I'd need some lined filler paper, so I bought:
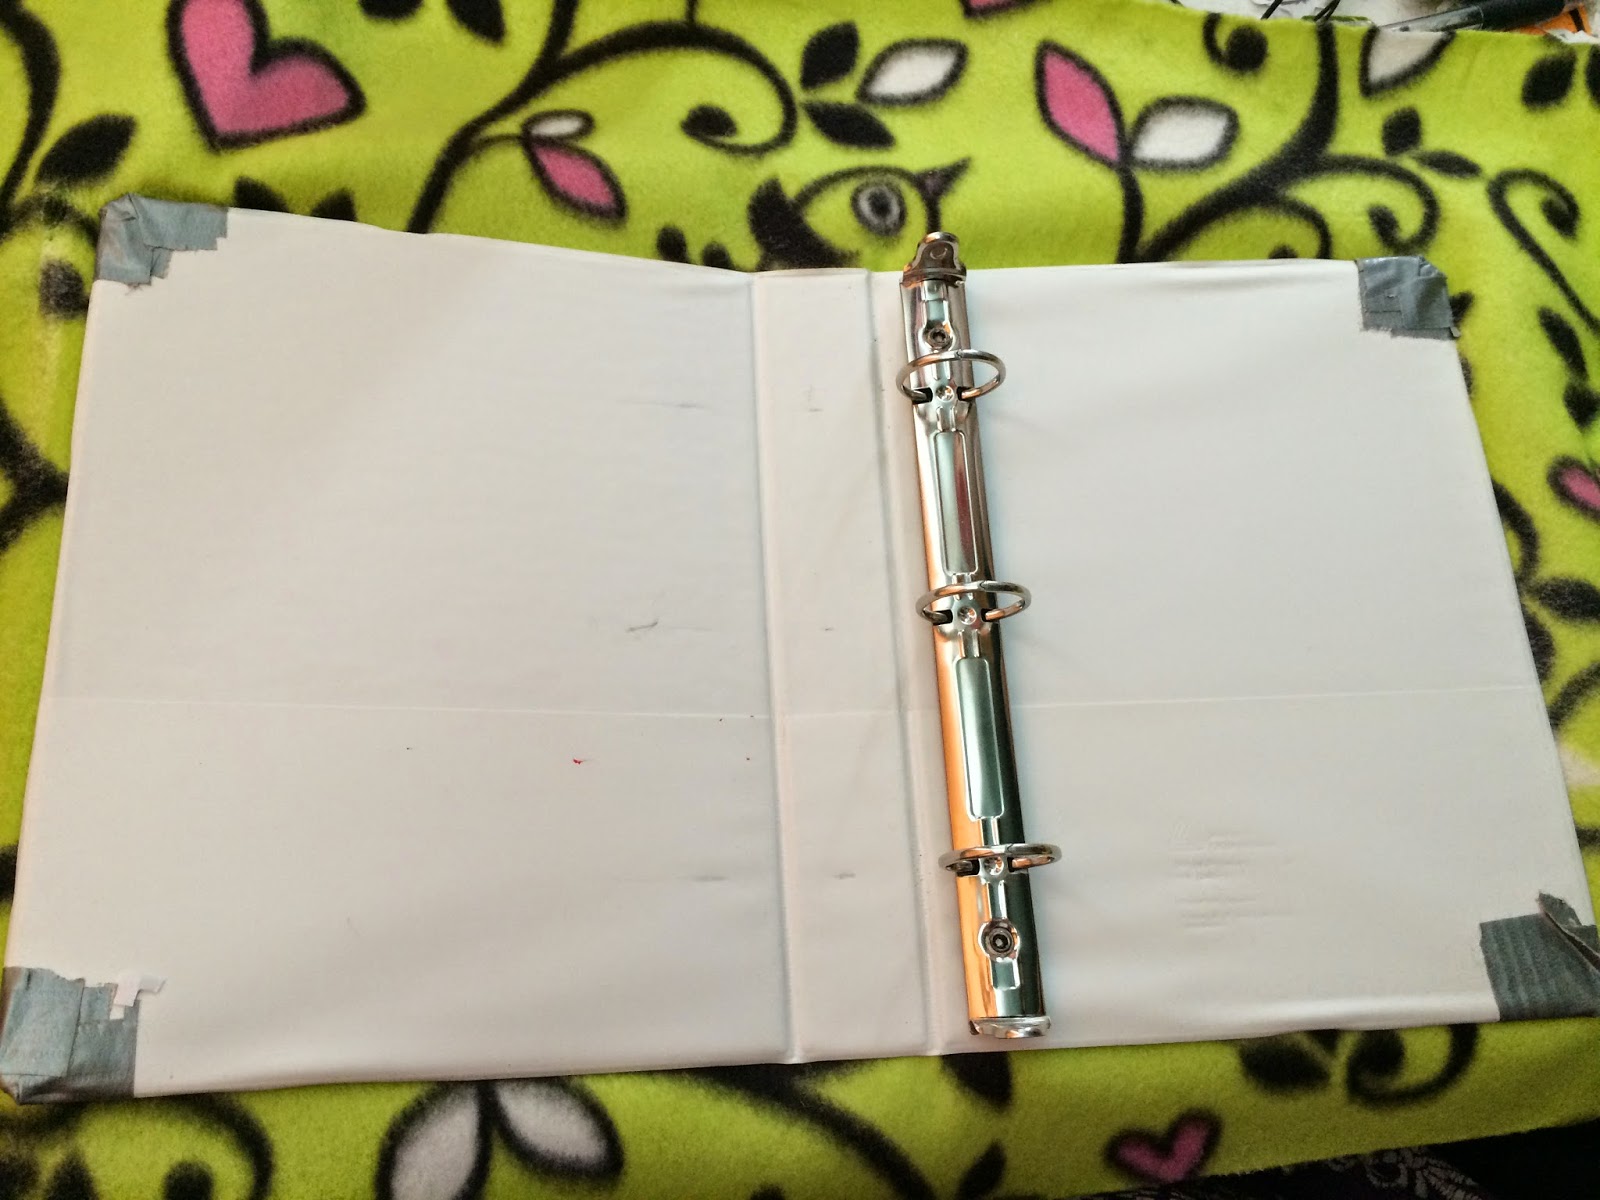
I didn't like the plain white binder. While I could have easily slid something decorative into the clear sleave on the front of the binder, I wanted fabric. So I bought some felt from Jo-Ann. I used some duct tape to "round" the edges a bit:
Because I'd lost the inside pockets doing this (though my dividers each have two pockets), I glued on a strip of ribbon to act as a pocket (and hide a rough edge):
I wouldn't actually do this again (and I don't recommend it). In use, pages get caught in it when you close the cover.
It took me quite a bit of thought to figure out what I needed for the calendar pages. I settled on these (which I made on the computer using Word in about a half hour):
PDF's of the pages I made can be downloaded here:
Mini Agenda Page with Month Calendar
Mini Agenda Page: Appointments and Extras
I just printed them out (landscape) on both sides of the page, cut them, and punched holes using a mini 3-hole punch from Staples. I also applied ScotchGard to the fabric cover.
The last thing I bought was a bookmark/elastic band to hold the book shut:
Catastrophe!
I tried buying a similarly styled one at the store ... I liked that it was smaller so it fit in my purse (not just my school bag), but there wasn't any room for anything extra. My life seems to be overflowing with extra, LOL, so I knew I needed something else.
I consulted the wisdom of the interweb to create my own.
Bullet journaling caught my attention. But when it came down to it, I just couldn't find the time to do all that cool stuff by hand.
Past experience taught me that I wanted something that would fit in my purse, so I bought:
I knew it would require some organizing dividers, so I bought:
And I knew I'd need some lined filler paper, so I bought:
I didn't like the plain white binder. While I could have easily slid something decorative into the clear sleave on the front of the binder, I wanted fabric. So I bought some felt from Jo-Ann. I used some duct tape to "round" the edges a bit:
And then used some spray glue to affix the fabric to the binder:
Because I'd lost the inside pockets doing this (though my dividers each have two pockets), I glued on a strip of ribbon to act as a pocket (and hide a rough edge):
I wouldn't actually do this again (and I don't recommend it). In use, pages get caught in it when you close the cover.
It took me quite a bit of thought to figure out what I needed for the calendar pages. I settled on these (which I made on the computer using Word in about a half hour):
PDF's of the pages I made can be downloaded here:
Mini Agenda Page with Month Calendar
Mini Agenda Page: Appointments and Extras
I just printed them out (landscape) on both sides of the page, cut them, and punched holes using a mini 3-hole punch from Staples. I also applied ScotchGard to the fabric cover.
The last thing I bought was a bookmark/elastic band to hold the book shut:


.jpg)

.jpg)
.jpg)
.jpg)
Comments